My favourite RCA cables have been by making them myself using cat5/cat6 twisted pairs. These twisted pairs have low capacitance and help in making the cable neutral. Over the years, bit by bit I have replaced all commercial cables using twisted pairs and each replacement has resulted in improvement of the hight end treble. Another thing I always did was to make exact length of the cables from the source to the destination. This helps in two things. It further reduces the effect of the cable on the music and also makes the connection a bit tidier.
This is how I terminate the RCA cables using the twisted pairs, filling the opening with molten wax using glue gun and hot air from de-soldering station to smoothen the wax. Having sealed the opening with molten wax makes the cable strong as the twisted pairs are thin and break easily at the point of solder on minor repeated movements of the cable.
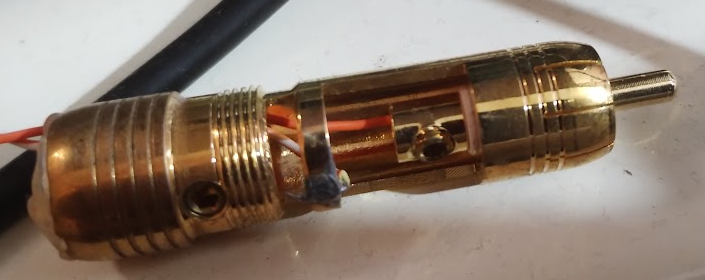
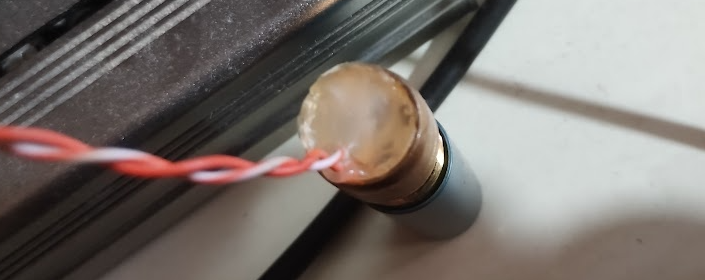
One of my longer cables
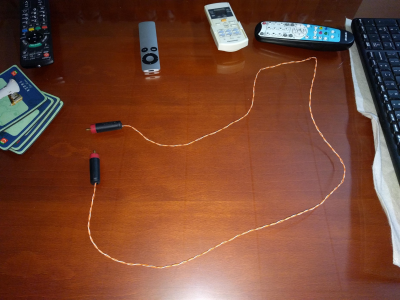
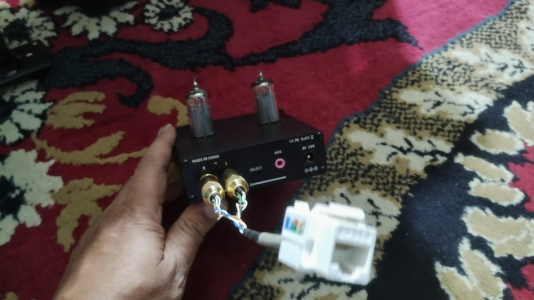
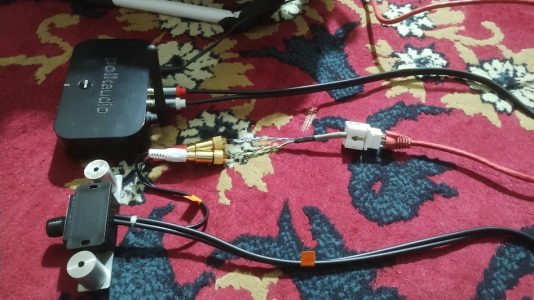
Now one of the big issue making custom cables is that when I change my equipment or layout is that I have to remake the cables if they turn out to be too long or too short. Some 3-4 years back I had an idea to make an extendible RCA cable. So today I finally made it. Anyone of you can make this at home. This is what goes into making it
Material Required.
You need the following
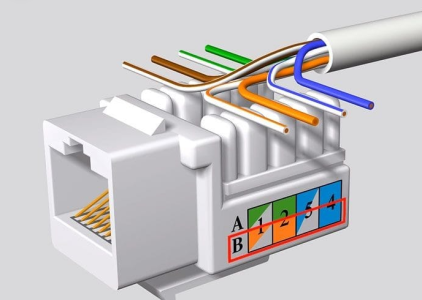
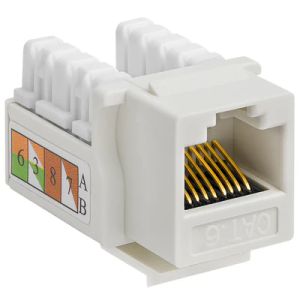
1) Keystone jacks. We require two keystone jacks to make a RCA cable pair. This is what is inside ethernet panels that you see on walls. It has 8 slots where you can fix wires using a punch down tool. We will come to how to wire this later.
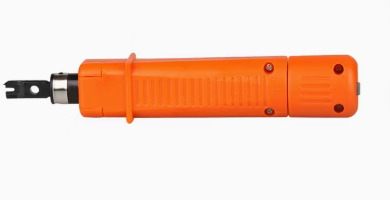
2) Punch Tool
3) cat5, cat6, cat7 cables. You need two 15 cm cables to make a RCA cable pair.
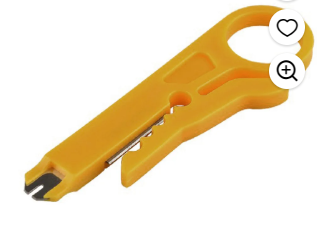
4) Cutter. If you get any standard ethernet crimping tool, you get a cutter like this
Procedure
1. Remove 2 cm of the sleeve from the ethernet cable from one and and 10cm of sleeve from the other end.
2. Connect the 2cm exposed portion to the keystone jack. Here is a youtube video showing how it is done. see this video from 1:12 to 1:46.
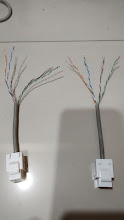
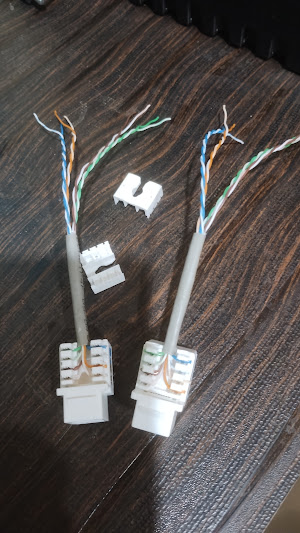
3. Untwist the exposed strands and connect the 2cm exposed end to the keystone jack. You will require the punch down tool. It is not difficult. You just need to follow this video. You need to connect two keystone jacks. After you have completed this, you will have the following
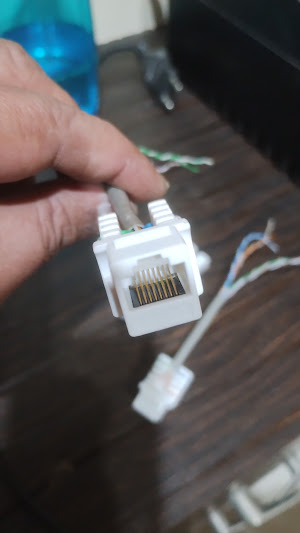
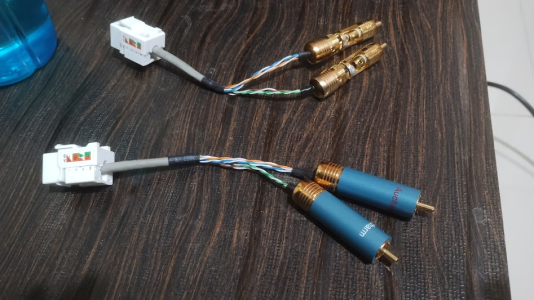
4). Now untwist the other longer 10 cm end. and make the following connections
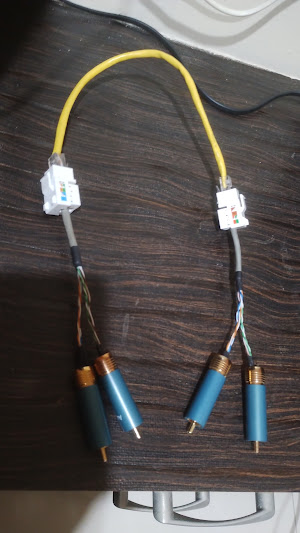
Now if you want to short RCA cable, connect a short ethernet cable between the two keystone jacks. If you want a long RCA cable, connect a long ethernet cable between the two keystone jacks. If you want a RCA cable of custom length, make your own ethernet cable using a crimping tool. You just need to have Cat6 cable, a pair of RJ45 connector and a crimp tool.
See this video on how to crimp your own ethernet cable here.
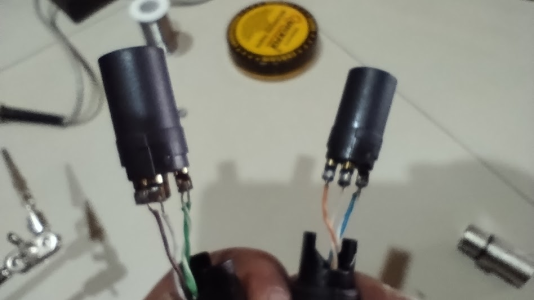
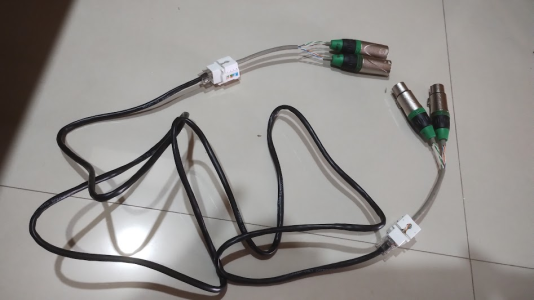
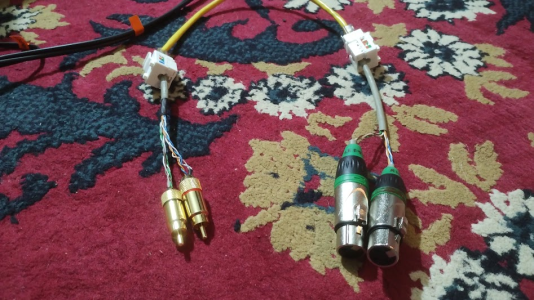
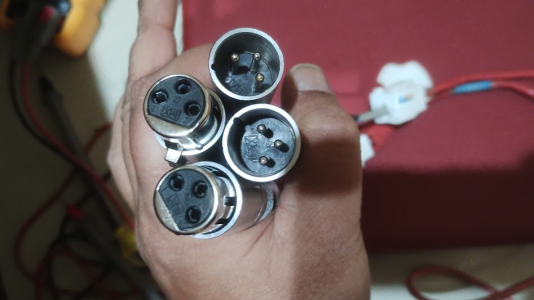
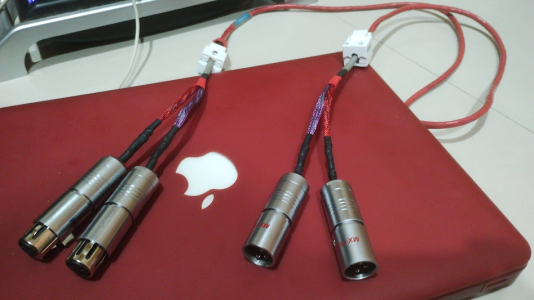
The same concept can be used to make a fully balanced cable using XLR connectors instead of RCA plugs. The wiring will be a bit different. I will be making one tomorrow and post the details here in another post.
This is how I terminate the RCA cables using the twisted pairs, filling the opening with molten wax using glue gun and hot air from de-soldering station to smoothen the wax. Having sealed the opening with molten wax makes the cable strong as the twisted pairs are thin and break easily at the point of solder on minor repeated movements of the cable.


One of my longer cables

Now one of the big issue making custom cables is that when I change my equipment or layout is that I have to remake the cables if they turn out to be too long or too short. Some 3-4 years back I had an idea to make an extendible RCA cable. So today I finally made it. Anyone of you can make this at home. This is what goes into making it
Material Required.
You need the following
1) Keystone jacks. We require two keystone jacks to make a RCA cable pair. This is what is inside ethernet panels that you see on walls. It has 8 slots where you can fix wires using a punch down tool. We will come to how to wire this later.

2) Punch Tool

3) cat5, cat6, cat7 cables. You need two 15 cm cables to make a RCA cable pair.
4) Cutter. If you get any standard ethernet crimping tool, you get a cutter like this

Procedure
1. Remove 2 cm of the sleeve from the ethernet cable from one and and 10cm of sleeve from the other end.
2. Connect the 2cm exposed portion to the keystone jack. Here is a youtube video showing how it is done. see this video from 1:12 to 1:46.
3. Untwist the exposed strands and connect the 2cm exposed end to the keystone jack. You will require the punch down tool. It is not difficult. You just need to follow this video. You need to connect two keystone jacks. After you have completed this, you will have the following


4). Now untwist the other longer 10 cm end. and make the following connections
- Remove 2-3 mm of sleeve from 4 pairs.
- Twist orange-white and blue-white exposed copper strands together. This will be the ground connection for right channel. Solder this joint to the ground pin of the right RCA plug
- Twist full orange and full blue exposed copper strands together. This will be the hot connection for the right channel. Solder this joint to the hot (Center) pin of the right RCA plug.
- Twist brown-white and green-white exposed copper strands together. This will be the ground connection for the left channel. Solder this joint to the ground pin of the left RCA plug.
- Twist full brown and full green exposed copper stands together. This will the hot pin for the left channel. Solder this joint to the hot (Center) pin of the left RCA plug.
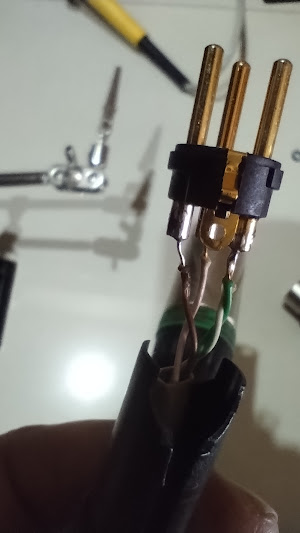
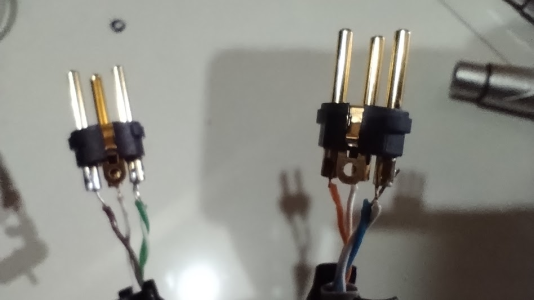
- Assemble the RCA plug housing. Below is one of the pair fully assembled, while one pair doesn't have the cover assembed.

7) Test the keystone jacks. For this you connect the cable using any ethernet cable. Take a multimeter. Check the continuity of Center to Center for the left and right RCA plugs and also ground to ground for the left RCA plugs. Repeat the exercise for the right channel. If you have punched down correctly the continuity test should be OK. Also make sure that the ground and center pins are not shorted for any of the RCA plugs.

Now if you want to short RCA cable, connect a short ethernet cable between the two keystone jacks. If you want a long RCA cable, connect a long ethernet cable between the two keystone jacks. If you want a RCA cable of custom length, make your own ethernet cable using a crimping tool. You just need to have Cat6 cable, a pair of RJ45 connector and a crimp tool.
See this video on how to crimp your own ethernet cable here.
The same concept can be used to make a fully balanced cable using XLR connectors instead of RCA plugs. The wiring will be a bit different. I will be making one tomorrow and post the details here in another post.
Last edited:


