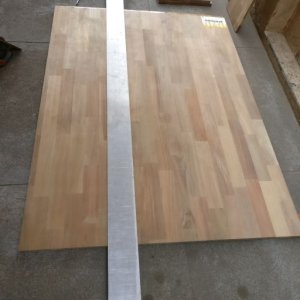
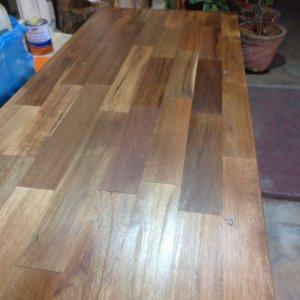
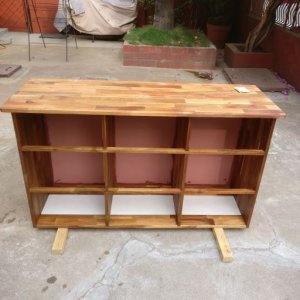
This thread maybe relevant for speaker box builders and possibly amp casing/enclosure builders
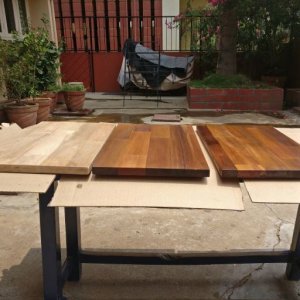
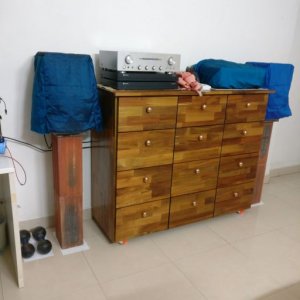
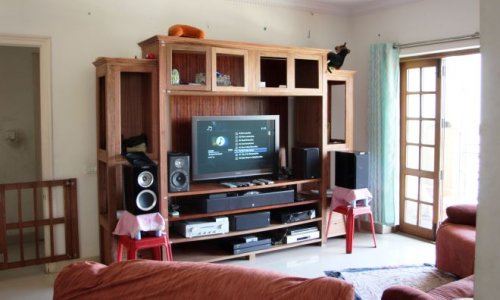
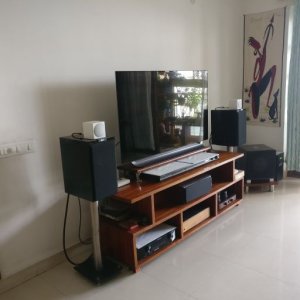
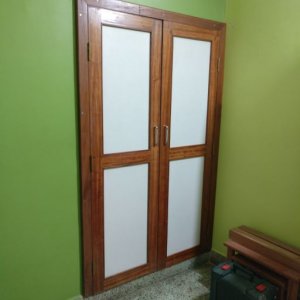
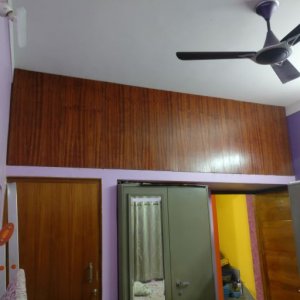
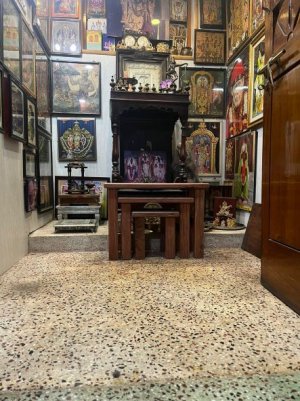
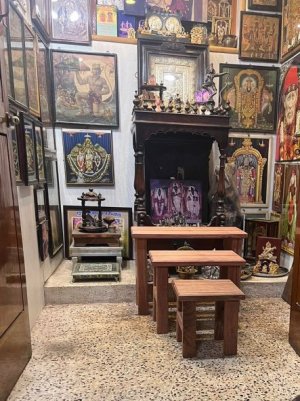
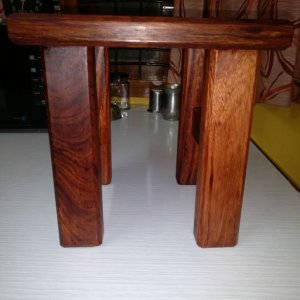
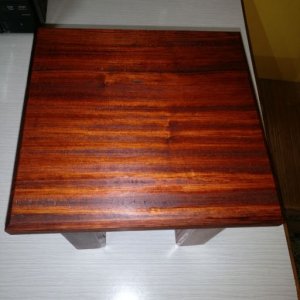
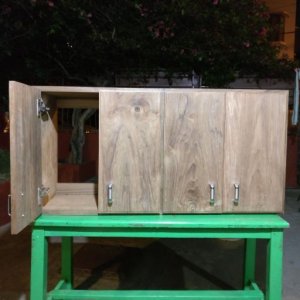
I dabble in woodworking projects from time to time. My interests are design, wood selection/procurement and finishing.
The actual carpentry a.k.a heavy lifting and skilled work is left to professionals. I simply don't have this skill, patience or accuracy.
The Elbow Grease Steps:
Sand, sand again, sand yet again. If you have a sanding machine your elbows, shoulders and back will be grateful
I use 80/100 --> 150 --> 220 grit sandpaper on raw wood. 3 steps should be more than enough for most woods or wood veneers. If you are anal do a 320 grit sanding after 220.
Sealing wood:
I have used nitrocellulose based sealants in the past. It gives a nice thin coat of protection to the wood. Apply 2 coats of NC sealant (sanding between coats). These days, I stay away from this due to the vapors (VoC) and dust. NC sealant does not stain or darken the wood. Ideal if you want to preserve the color of wood used.
Brush on or use cloth to apply NC sealant on raw wood. Use gloves if not using a brush. Adjust viscosity based of wood species. Very hard wood species can be brushed with sealant. Porous wood may require cloth application (in circular motion)
Caution: Use an N95 mask
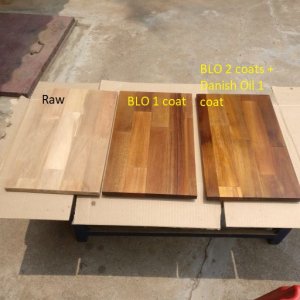
My substitute for pore sealing and protection now is Boiled Linseed Oil (BLO). This is raw linseed oil with additives to speed up drying.
Warning: BLO contains some lead as an additive.
Flood the surface with BLO and rub the oil into the wood. After 15-30 mins, wipe of the excess oil. Vigorously rub down the wood in straight, along the grain motion.
Allow to dry for at least 24 hours. If there are any nibs, sand down with 320/400 grit paper. Apply 1-2 coats. After 2nd coat allow two days of drying time.
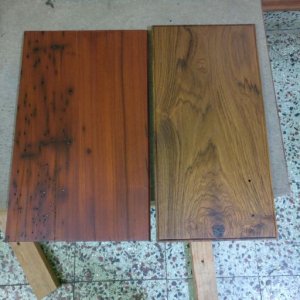
Note, that BLO will darken wood immediately and over time.
Caution: The cloth that is used to apply BLO should be dried out flat in the open for at least 8 hours before disposal. BLO soaked cloth/rags can result in spontaneous combustion when lumped and thrown in the waste bin.
Top coats:
If using NC sealant, use NC polish/varnish. Sheenlac is a good brand. Polyurathane (PU) finish requires a workshop and good ventilation/masks.
I have never done PU top coat due to lack of space and equipment. Have used simple polish/varnish with cloth application. This is a tricky part.
You need to thin down the varnish/polish with an NC thinner for easy application.
Long strokes with lint free cloth along the grain without any stops. Apply 1-2 coats. Buff with lint free cloth in between (or sand down with fine grit paper).
Caution: Use N95 masks if using NC/PU based products
Using Danish Oil: This is raw linseed oil with additives (no lead) to harden quickly, some resins, turpentine and PU varnish.
A kinda all-in-one material. This is to be used on raw wood surfaces or BLO treated surfaces, not after any chemical based sealants.
The method is very similar to using BLO. Flood the surface, rub it in, remove excess oil after 15-30 mins.
I usually allow for 24 hour drying, but wet-on-wet method may be used too. Apply, wait for an hour, rub down with cloth or fine grit sand paper, reapply. Repeat 2-3 times. Allow final coat to dry for 24-48 hours before a final rub down. You may use car wax for final rub down.
This does not give a mirror shine like chemical based polish or PU. Instead, it gives a low sheen.
Note: If you are sensitive to turpentine of varnish smell, use a mask.
In all my experiments, I have found that NC/PU based finishes give a shiny, super smooth look/touch.
Oil based finishes give a low sheen, kinda antique look. Smoothness is on how much you rub it in (elbow grease).
So, for anyone attempting wood veneer cabinets for speakers or wood enclosures for amps, give these a try.
My current furniture projects will culminate in 7-10 days. Will post pics then.
As a side project, building a couple of wood amp enclosures for myself and @Prodigy.
Will update on these too.
Cheers,
Raghu
Last edited:


